Hey Team, Rory here. One of the biggest battles triathletes face in the water is learning to use their legs effectively. You want the kick to help reduce drag and swim more efficiently. But at the same time, you can’t overdo it when your success on the bike and run depend entirely on your legs.
If you’ve never learned EXACTLY how to kick your legs, this guide is exclusively for you.
I’m going to breakdown HOW to position and move each part of your leg so you can get more power out of your kick. You’ll also learn to get more from your legs without negatively affecting your bike and run.
No babble. No stories. Let’s get kicking!
1. Your Toes:
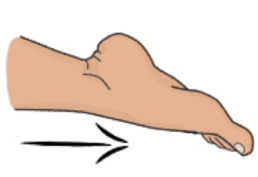
Point your toes in exactly the opposite direction to the way you are swimming, i.e. backwards.
You should be able to point your toes with the least amount of effort possible. If you have to tense or strain your foot to point your toes, chances are you experience calf cramp regularly. And you know, nothing will end your swim faster than a cramp!
2. Your Foot:
The top of your foot should form an extension of you shin bone.
Imagining flooring the gas pedal in your car… notice how the angle between your foot and your shin opens up? That’s the position we’re trying to get into!
As with pointing your toes, you want to open the angle of your ankle with the least amount of effort possible. If you have to fight to hold this extended position, you will quickly end up with cramp!
Key Takeaway
You want your foot to be parallel to the bottom of the pool or ocean as you kick up and down. You should be able to open the angle of your ankle and point your toes with as little effort as possible.
3. Your Ankles:
Have you ever grabbed a kick board and started a kick set only to find you’re not moving anywhere? Or if anything, you’re moving backwards?
If that’s you, your legs (whether they’re kicking or not) are killing your swim speed.
In a perfect world, your ankle should open up more than 90°. If you can’t get to 90°, moving your legs is actually going to slow you down! You can put all the energy and effort into kicking more. Kicking harder. Kicking faster. It won’t do you any good. In fact it will make you slower!

Bad Ankles – acting like anchors and stopping you moving forward!

Ok Ankles – not acting like anchors but not helping your move forward

Great Ankles – helping you reduce drag and move forward!
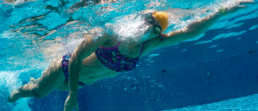
4. Your Knees:
To kick well your knees must bend. But, we’re not riding a bicycle, or even kicking a football. That much bend would move our legs outside the profile of our body… And slow us down!
So how much knee bend are we looking for?
Well it’s kind of like Goldilocks’s search for the perfect porridge in the home of the Three Bears.
● Too much knee bend is going to create extra resistance.
● Too little knee bend doesn’t create enough force to create stability or move you forward.
● Somewhere in the middle is just right!

There two points to think about when it comes to the knee bending:
1️⃣ The knee bend should lift your heel up towards the surface of the water. It should NOT pull your thigh in towards your stomach.
2️⃣ Your thighs should always remain hidden in the profile of your torso and upper body.
Get those two points right, and you will be creating force while minimizing resistance!
Key Takeaway
The knee bend should lift your heel up towards the surface of the water so your thighs always remain hidden in the profile of your torso and upper body
5. Your Hip Flexors:
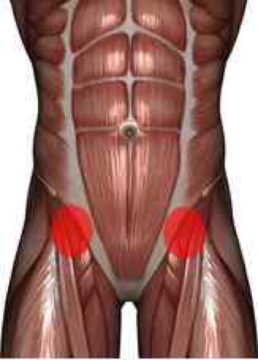
Your hip Flexor is where the kick movement and power originates. When kicking correctly, your hip flexors should fatigue first, not your thighs.
To kick effectively; use your hip flexor to raise your leg up to the surface of the water as your knee bends slightly. Then snap it down powerfully as as your ankle whips back against the water.
Key Takeaway
Use your hip flexor to raise your leg up then snap it down powerfully as as your ankle whips back against the water.
6. Your 5 Step Check List:
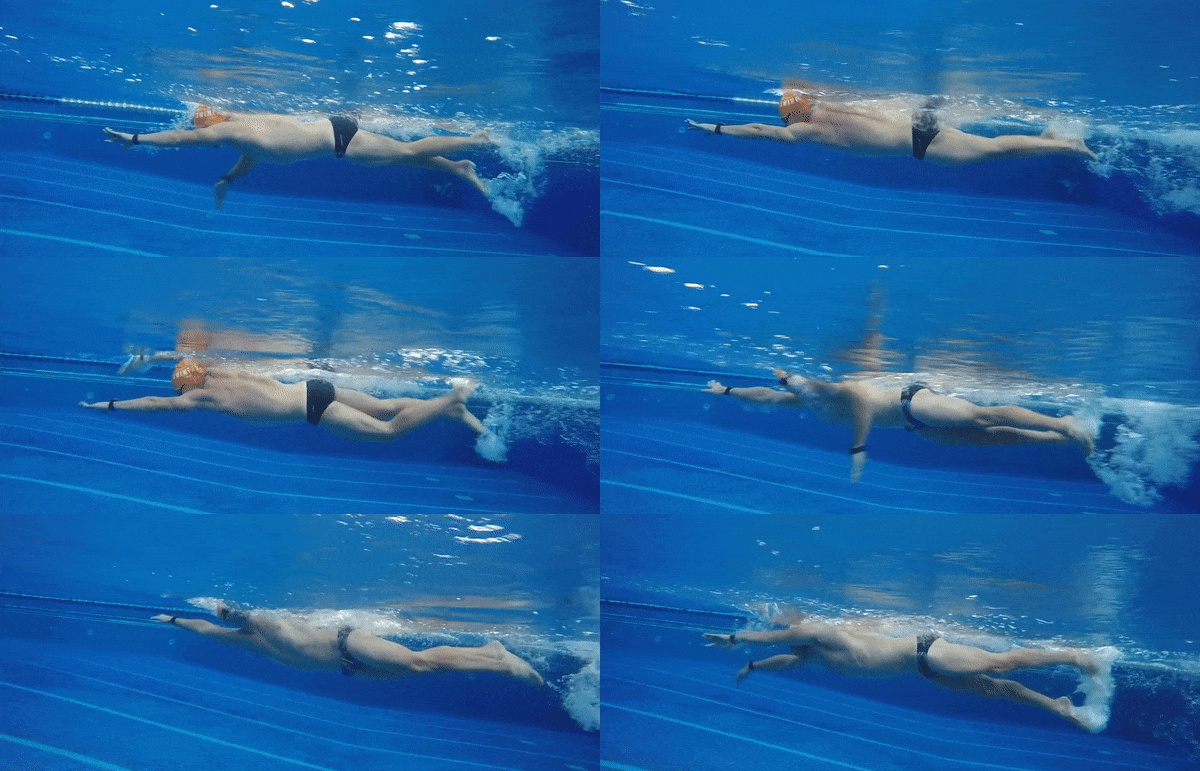
1️⃣ Hip flexor raises raise your leg up inline with your body
2️⃣ Knee bends taking the foot to the surface of the water
3️⃣ Hip Flexor snaps down powerfully
4️⃣ Ankle allows the foot to whip back against the water to drive you forward
5️⃣ Ankle allows the foot to presses down on the water, which lifts you up. Giving you balance and floatation.
Key Takeaway
The ultimate goal is not to overkick or drive from the legs. Rather you’re looking to keep the kick small, light and consistent to stabilize and balance your body.

download THE FUNDAMENTALS OF TRIATHLON SWIMMING guide
Let me email you the Complete Guide + 6 Bonus Drill Videos, 7 Explanation Videos and links to tons more articles, guides and podcasts. All for free!
download THE FUNDAMENTALS OF TRIATHLON SWIMMING guide
Let me email you the Complete Guide + 6 Bonus Drill Videos, 7 Explanation Videos and links to tons more articles, guides and podcasts. All for free!
💁🏽♂️ What Questions Do You Have On The Kick?
This guide should leave you with no questions about how to kick, but no doubt you’ve thought of 20 already. Comment below with what’s holding you back from kicking like a real triathlete


2 thoughts on “Freestyle Kick Like A Triathlete”
Thank you for clarifying why I should keep my toes pointed. I’m training for IM Florida and I’m struggling to make the 2 hour 20 minute cutoff time even in calm local water.
My pleasure, Shawn. If you’re struggling with your speed and efficiency, I would suggest downloading my Fundamentals guide, I think it would give you a solid foundational understanding of what you should be doing in each part of your stroke.